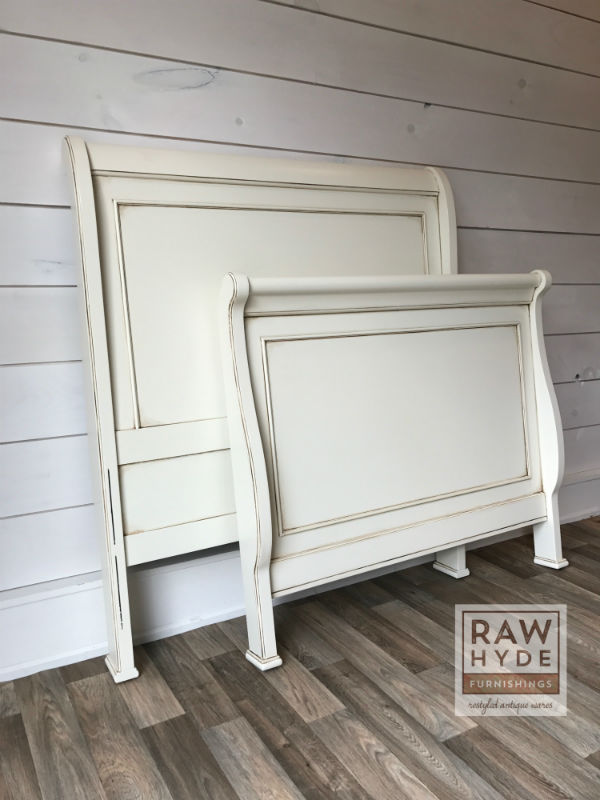
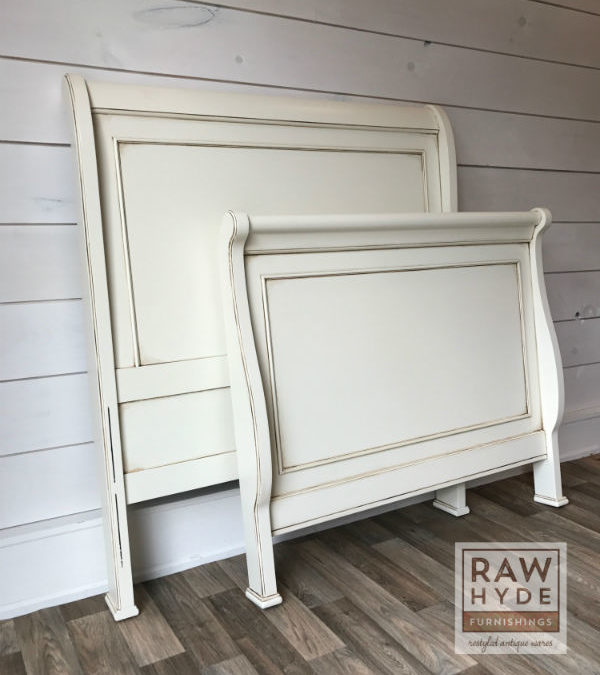
This twin sleigh bed had a cherry finish that I transformed per the client’s request in white with a brown glaze.
Are you considering painting your furniture white? If so, these tips may be a good place for you to start. Many people think that painting a piece of furniture white is the simplest thing to do. But the truth is that painting with white paint can have some of the biggest challenges.
White furniture is ever so popular and will probably never go out of style. It goes well in almost any space, it’s neutral and it’s elegant. Many of the custom jobs I do for my clients are transforming their existing furniture into something white and beautiful. I also get tons of questions from followers about what paint/topcoat I recommend for a durable, non-yellowing white finish.
So here are my best tips for painting furniture white that I will share with you from my experience.
My Tips For Painting Furniture White
- Always, always, always prime your surface. This is especially true if you are painting a vintage piece of furniture, or a newer piece of furniture that has had years of furniture polish making it slick and oily. (Priming, of course, happens after you have washed the surface well with soap and water). If there are any stains or tannins that are going to rear their ugly head, they will most definitely do so through white paint. Priming first with at least two coats of primer will save you a lot of time, headache, and paint! I am going to say that you should do this even if you are using the fabulous brands of paint that I also love to use that say no prep, sanding, or priming needed.
- Stipple your first coat if using a brush, or my personal preference is to use a roller instead. It is tough to get good coverage on that first coat with white paint. Stippling is a process in which you take your paint brush and dab the paint on with the end of your brush. It creates a sort of texture for the next coat to grab on to (a round chalk paint brush is best for this.) If you were to just brush on the first coat like you normally would, you’ll find that the more you brush, the paint is just moving around and not covering the surface very well. Stippling will help with that. I prefer to simply roll on white paint. A roller has the same effect as stippling and it is much faster. Using one of these techniques for your first coat may save you some paint with fewer coats needed.
- Plan on using more paint than you would need if you were using a darker color. The fact is that white paint just doesn’t cover as well as the darker colors. Even with the suggestions above, you should plan to do at least three coats of white paint. With darker colors you can almost always get away with two coats, sometimes one, depending upon the paint. So when you are planning for how much white paint you will need for your project, be sure to count on using a little extra compared to what you would need for a darker color.
- My favorite topcoat for a white paint finish is Wise Owl Varnish. I know I can trust it with my white finishes to keep them just as beautiful as they are before the topcoat goes on. Crisp, clean white with no yellowing. It is available in a matte or satin sheen, which in my opinion are the only two options you need when hand painting a piece. The more gloss or shine in the topcoat, the tougher it is to get a smooth finish due to the reflectiveness of the sheen showing the imperfections. If you want a super glossy finish your best bet is to spray a glossy poly on your piece.
- Finally, I will share with you my favorite white paints I have used so far. My current go-to paint brand is Wise Owl Chalk Synthesis Paint. I absolutely love Antique Villa. It is a clean white that’s not too bright, but it’s not really a creme color either. For a bright white I would use Snow Owl. And for a white with more gray tones I like the color called Bone.
Note: Links in this post are affiliate links and I receive a small compensation when you purchase product via these
links. Thank you for supporting my blog!
Product Links
I have rounded up links to the products I like to use to make them easy for you to find and purchase if you want to try them.
- Wise Owl Chalk Synthesis Paint
- Wise Owl Varnish
- Zibra Paint Brush
(I like the round brush for stippling.)
- Mini Roller Handle (This is the size of roller I like to use.)
- Roller Covers (These are my go-to roller covers.)
- Wise Owl Stain Eliminating Primer
I hope these tips are helpful to you. If you have questions about your project, I would love to hear from you and I’m happy to help if I can. Also, feel free to add your own tips in the comments if there is something you have learned from your own experience of painting with white paint that might be helpful to others. I’ll leave you with some photos of pieces I’ve painted in white using the tips I shared here. Thanks for stopping by and happy creating!
NOTE: I am currently offering a tutorial on how to paint furniture like a pro. It includes how to properly prep your piece for a light colored paint in addition to how to get a professional lasting painted finish on your furniture. Check it out HERE.
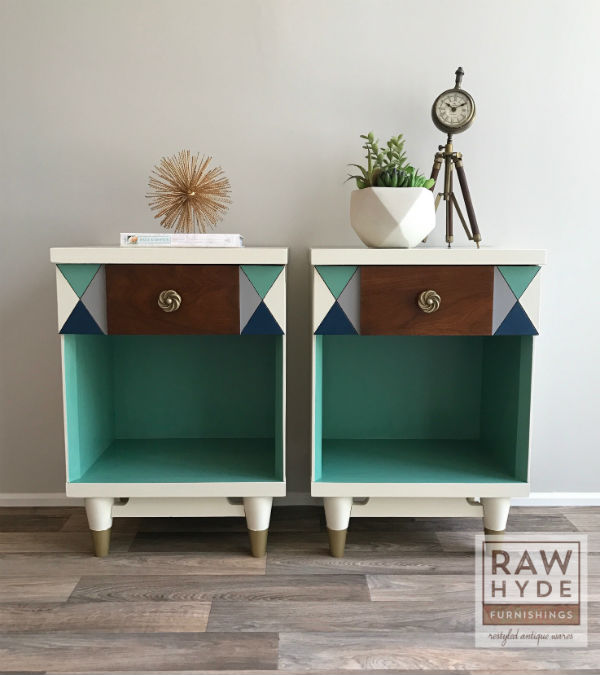
I transformed these mid-century modern night stands using white as the base color. They are accented with multiple other colors to highlight the geometric details of the piece.

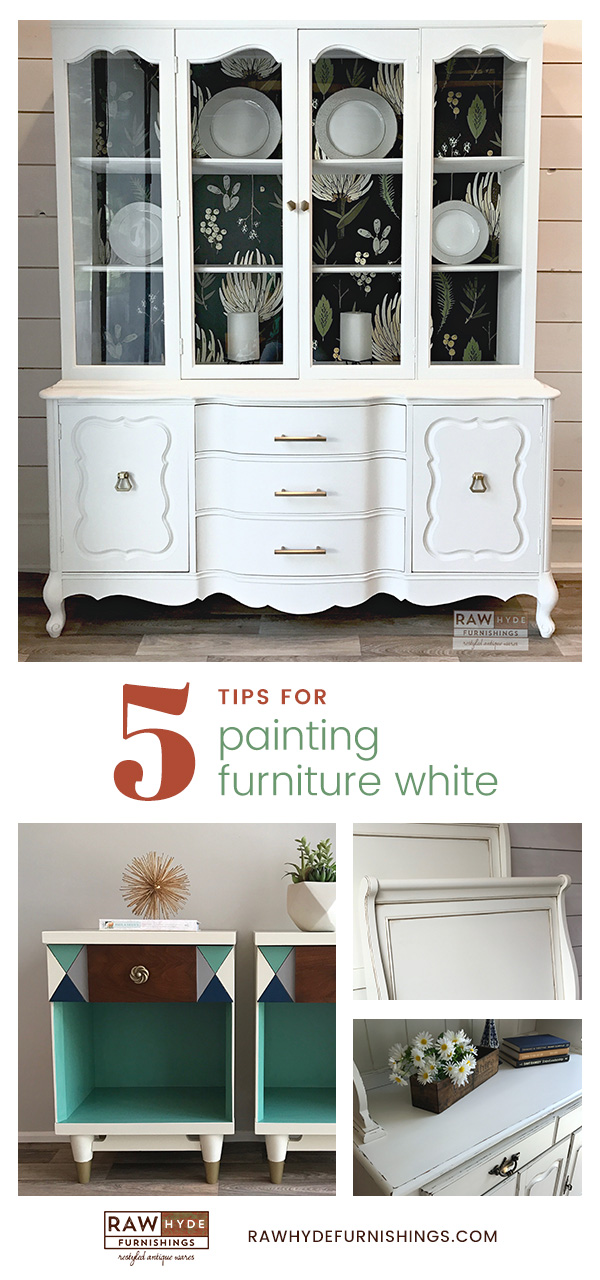
This china cabinet was painted in a clean white. I added the beautiful pattern paper from Spoonflower and changed out the hardware to bring this outdated piece into the present and make a statement in the client’s home.
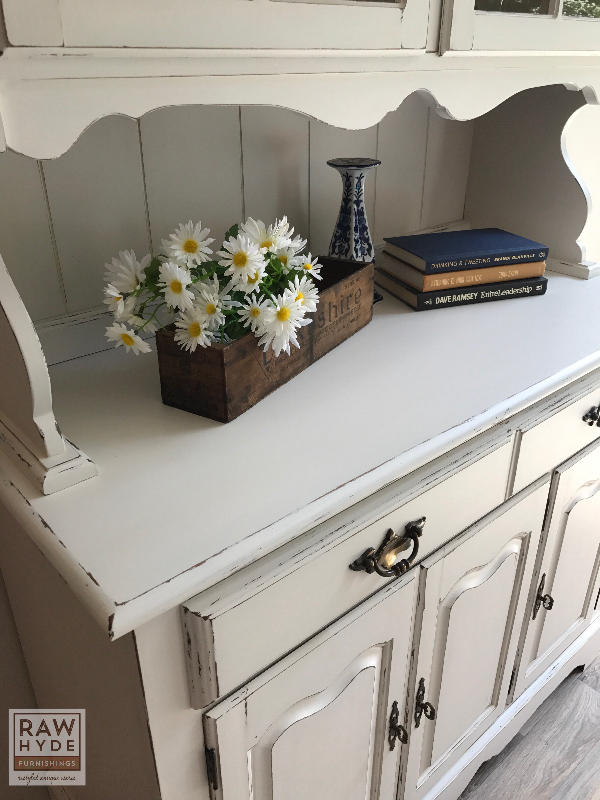
This is an example of a white piece I painted and distressed for a client down in Florida.
Want my guide to choosing your Wise Owl Paint products? Sign up here and get it delivered to your inbox!
I respect your privacy and will not sell your email address to 3rd parties. You will only receive emails from me about my furniture painting adventures. 🙂

I’m going to attempt to paint a cherry finished bedroom set with the Antique Villa and varnish (primer too). Its headboard footboard side rails dresser chest of drawers and one nightstand.
How do I know how much to buy?
Hi Roseanna, the chalk synthesis paint covers 80 sq ft by the pint and 160 sq ft by the quart. I would probably suggest going with a quart for this size project. Be sure to prime well (at least two coats) and you should save yourself some paint when it comes time to apply the paint. Let me know if I can help you with your paint order. Good luck with your project!
Hi. So I have a medium dark wood sleigh bed and night stand that I bought about 12 years ago. It still looks great but I am moving into my first home and want a change. Because I love it so much, I want to paint it white and distress it so that some if the wood comes through just a little. How do I get that look? Btw, you have encouraged me to turn this into a hobby now that I will have storage space in my new home!
I’m so excited for you! Since you want the wood to show through, I would start with Wise Owl Stain Eliminating Primer Clear. That way you will still block any tannins that might want to bleed through your white paint, but when you distress you won’t have to also distress through white primer since your primer will be clear. You can find that on my website here: https://rawhydefurnishings.com/store/wise-owl-stain-eliminating-primer/. Then choose your shade of white in the chalk synthesis or enamel paint. If you choose the enamel paint you don’t need a topcoat, but you may need a more coarse grit for distressing. The chalk synthesis paint will need a topcoat after you distress the paint. Let me know if I can help you further! Good luck!
Thank you!!