

I thought a Q&A format might work well for these tips. So let’s dive in!
Note: Some links in this post are affiliate links and I receive a small compensation when
you purchase product via these links. Even though I may be compensated, all opinions are
my own. Thank you for supporting my blog!
When do you need to sand?
Sanding is required before ANY paint is applied to ANY piece. Yes, that includes chalk type paint. But don’t worry, it’s probably not as big a deal as you think. Keep reading.
Do I need to sand the existing finish completely off?
Not necessarily. The only time you would need to do this is if you plan to stain the wood a different color. But even then there are products such as General Finishes Gel Stain that can be applied over an existing finish. However, you’ll ALWAYS want to at least give the existing finish a light sanding first.
What is a light sanding/scuff sanding/grip sanding?
Anytime you hear someone refer to giving something a light sanding or scuff sanding, or sanding to give something a grip, what that means is taking a high grit sandpaper and lightly going over the surface. You’re not necessarily removing any color from the piece (though it’s not harmful if some happens to come off). The goal is to just rough up the surface enough to take away the super slick, smooth finish and allow your paint to have something to grab onto when you begin to apply it.
What grit should I use for sanding? What is grit anyway?
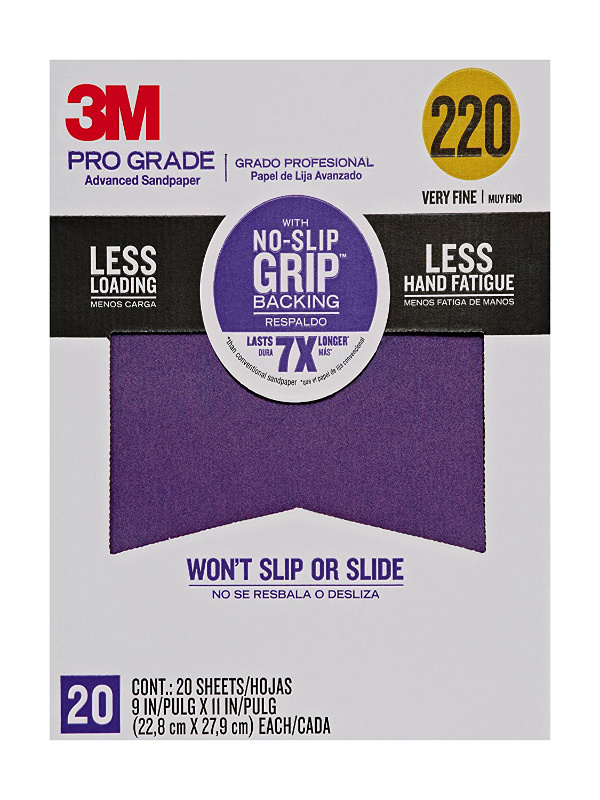
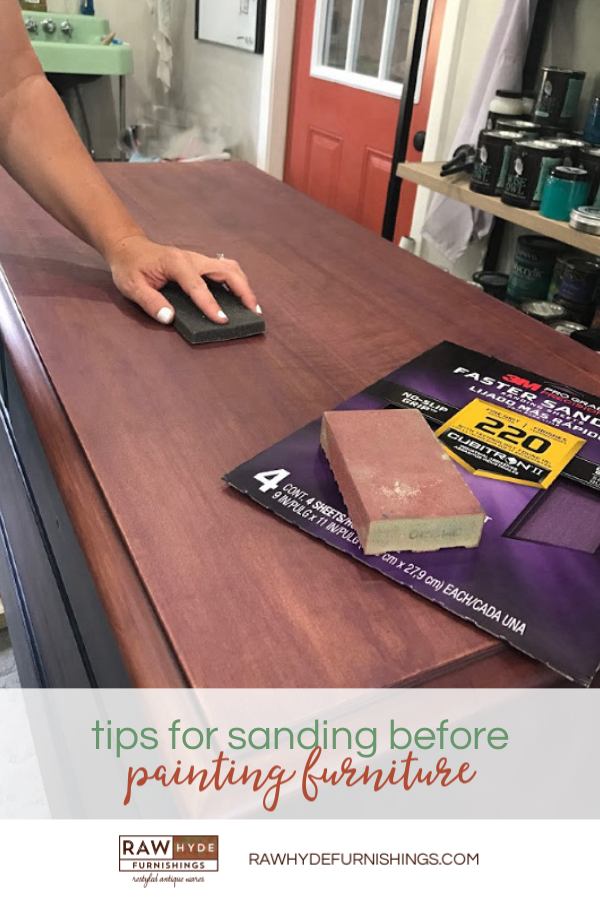
Grit refers to the coarseness of the sand paper. You will see sand paper with grit ranging from 60 to 400 and beyond. The lower the number, the more coarse the grit. So for a light sanding like we mentioned above, you want something like a 220 grit sand paper to just gently scuff the surface enough to give your paint something to grip.
You’ll also want to be sure you give a light sanding between coats of paint and topcoat and 220 grit is great for that as well.
If you want to remove the existing finish for a stain or paint wash you would want to start with something like a 60 or 80 grit sand paper. Once you remove the existing finish with the coarse grit, you want to go over the surface again with something like a 120 or 150 grit, and finally with a 220 grit to help smooth out the surface.
What other things should I know about the proper way to sand?
You want to always be sure you sand in the direction of the grain, never across it. This can get tricky with multi-directional grains. I found this out the hard way and you can read all about that HERE.
There are so many options for sand paper and sanding tools out there. What are your favorites and recommendations?
For sand paper, I like this 3M sand paper. I keep this stocked up in my shop in almost every grit for the various jobs I do. If you’re looking to do just a one-off project and don’t need to keep several grits handy, I suggest the 220 grit. It will be sufficient for most jobs.

Want my guide to choosing your Wise Owl Paint products? Sign up here and get it delivered to your inbox!
I respect your privacy and will not sell your email address to 3rd parties. You will only receive emails from me about my furniture painting adventures. 🙂
April Hyde, thanks! And thanks for sharing your great posts every week!